
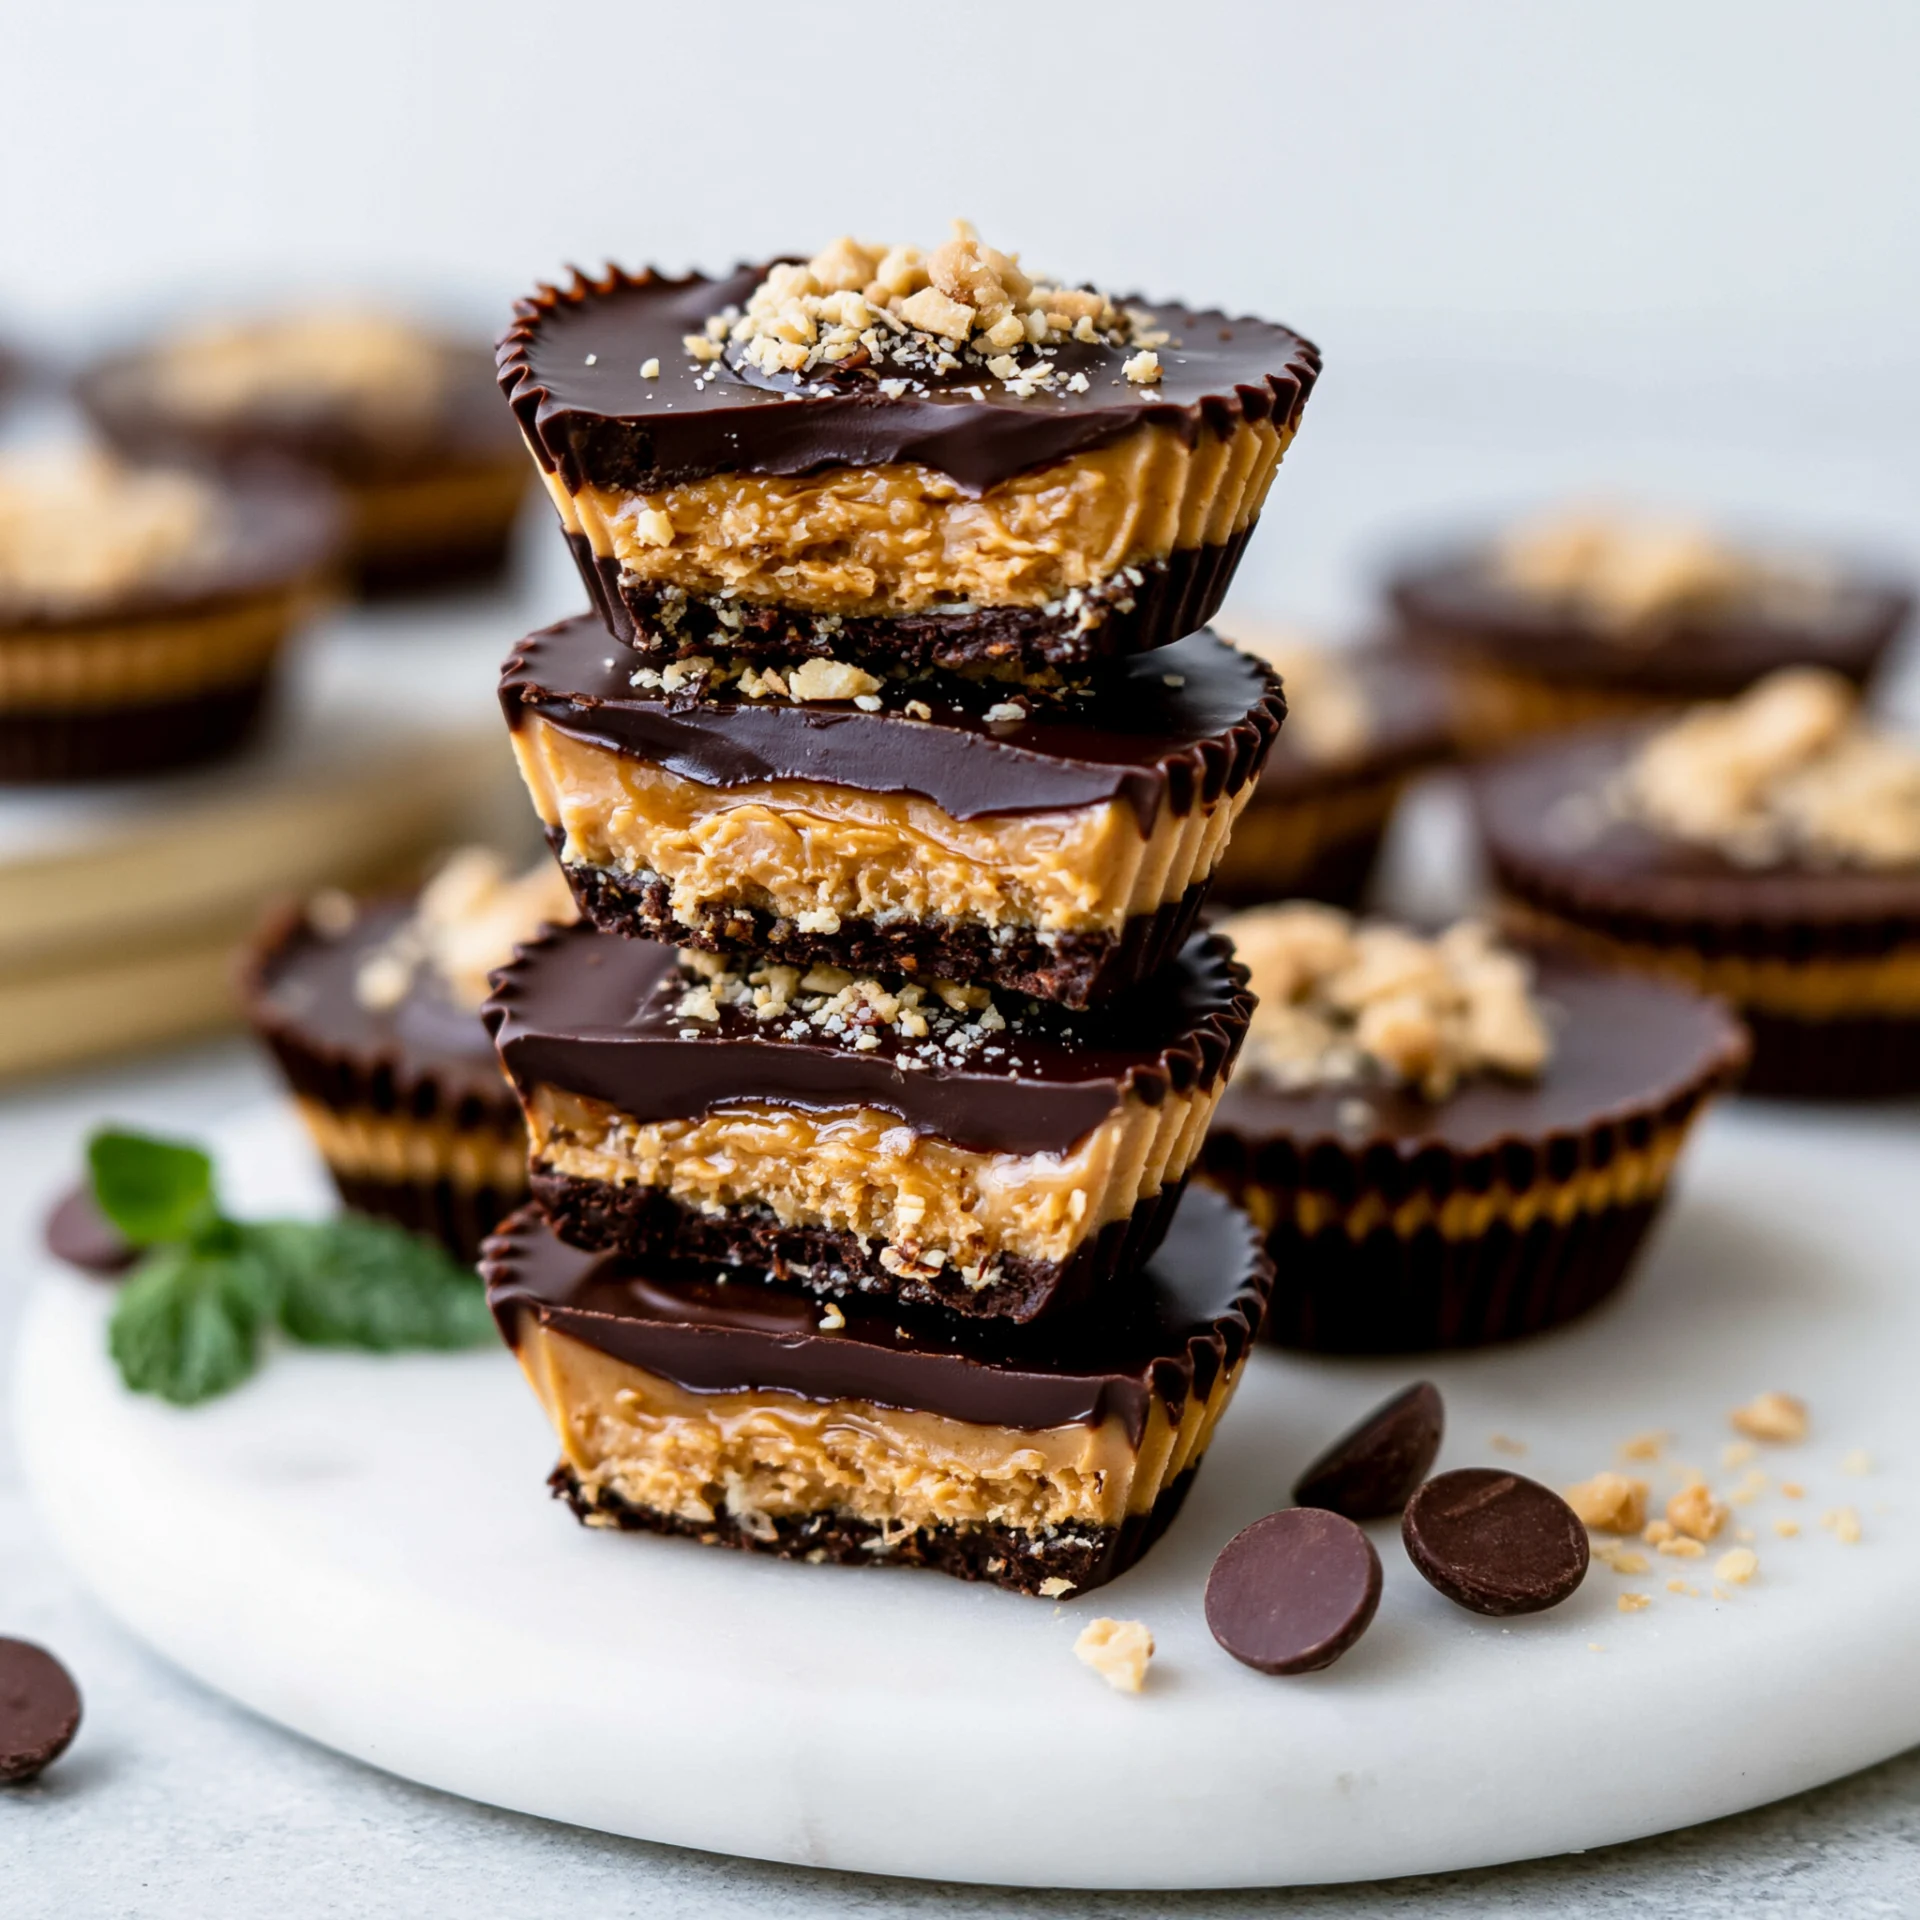
Nothing compares to the joy of watching your kids’ faces light up when they bite into these homemade peanut butter cups – creamy peanut butter nestled between layers of rich, smooth chocolate that practically melts in your mouth. These treats taste just like the store-bought favorites but with wholesome ingredients you can feel good about serving your family.
The best part? This foolproof recipe requires just five simple ingredients and takes less than 30 minutes of hands-on time. They’re perfect for weekend baking adventures with little helpers or as a thoughtful treat for school events and neighborhood gatherings.
Ingredients
- 2 cups semi-sweet chocolate chips, divided
- 1 cup creamy peanut butter
- 1/4 cup powdered sugar
- 2 tablespoons coconut oil or butter, melted
- 1/2 teaspoon vanilla extract
Substitution suggestions: Use natural peanut butter for a more intense flavor, swap powdered sugar for maple syrup if you prefer liquid sweeteners, or try dark chocolate chips for a richer taste that adults especially love.
Timing
- Prep time: 15 minutes
- Chill time: 2 hours
- Total time: 2 hours 15 minutes
Family tip: Start these after lunch on weekends so they’re perfectly set for an after-dinner treat, or prep them Sunday evening for school lunch box surprises throughout the week.
How to Make It
1. Prepare Your Muffin Tin
Line a standard 12-cup muffin tin with paper liners. This prevents sticking and makes removal effortless later. The paper liners also give your peanut butter cups that authentic, bakery-fresh appearance kids adore.
2. Melt the Base Chocolate
Melt 1 cup of chocolate chips in 30-second intervals in the microwave, stirring between each interval until smooth and glossy. This gentle melting prevents the chocolate from seizing or becoming grainy. You’ll know it’s ready when it coats the back of a spoon evenly.
3. Create the Bottom Layer
Spoon about 1 tablespoon of melted chocolate into each muffin liner, spreading it evenly across the bottom. Gently tap the pan on your counter to eliminate air bubbles and create a smooth surface. Place in the refrigerator for 15 minutes until the chocolate firms up but isn’t completely hard.
4. Make the Peanut Butter Filling
While the chocolate chills, mix peanut butter, powdered sugar, melted coconut oil, and vanilla in a medium bowl until the mixture becomes smooth and pipeable. The consistency should be thick enough to hold its shape but soft enough to spread easily. This filling is the heart of your homemade peanut butter cups.
5. Add the Peanut Butter Layer
Remove the muffin tin from the refrigerator. Drop rounded teaspoons of peanut butter mixture onto each chocolate base, leaving a small border around the edges. Gently press down with the back of the spoon to create an even layer that won’t peek through the top chocolate coating.
6. Top with Final Chocolate Layer
Melt the remaining cup of chocolate chips using the same method as before. Spoon this melted chocolate over each peanut butter layer, making sure to cover completely and seal the edges. The chocolate should meet the paper liner all around for that perfect, professional finish.
7. Set and Serve
Refrigerate for at least 2 hours until completely firm. The centers should feel solid when gently pressed. Remove from liners and enjoy immediately, or store for later indulgence.
Nutritional Information
Each peanut butter cup contains approximately 185 calories, 4g protein, 12g fat, and 18g carbohydrates. These homemade versions offer more protein and less processed sugar than store-bought alternatives.
Serving Suggestions
Serve alongside fresh strawberries and a glass of cold milk for the ultimate afternoon snack. They’re also delightful crumbled over vanilla ice cream or packed in lunch boxes as a special midday surprise.
Common Mistakes to Avoid
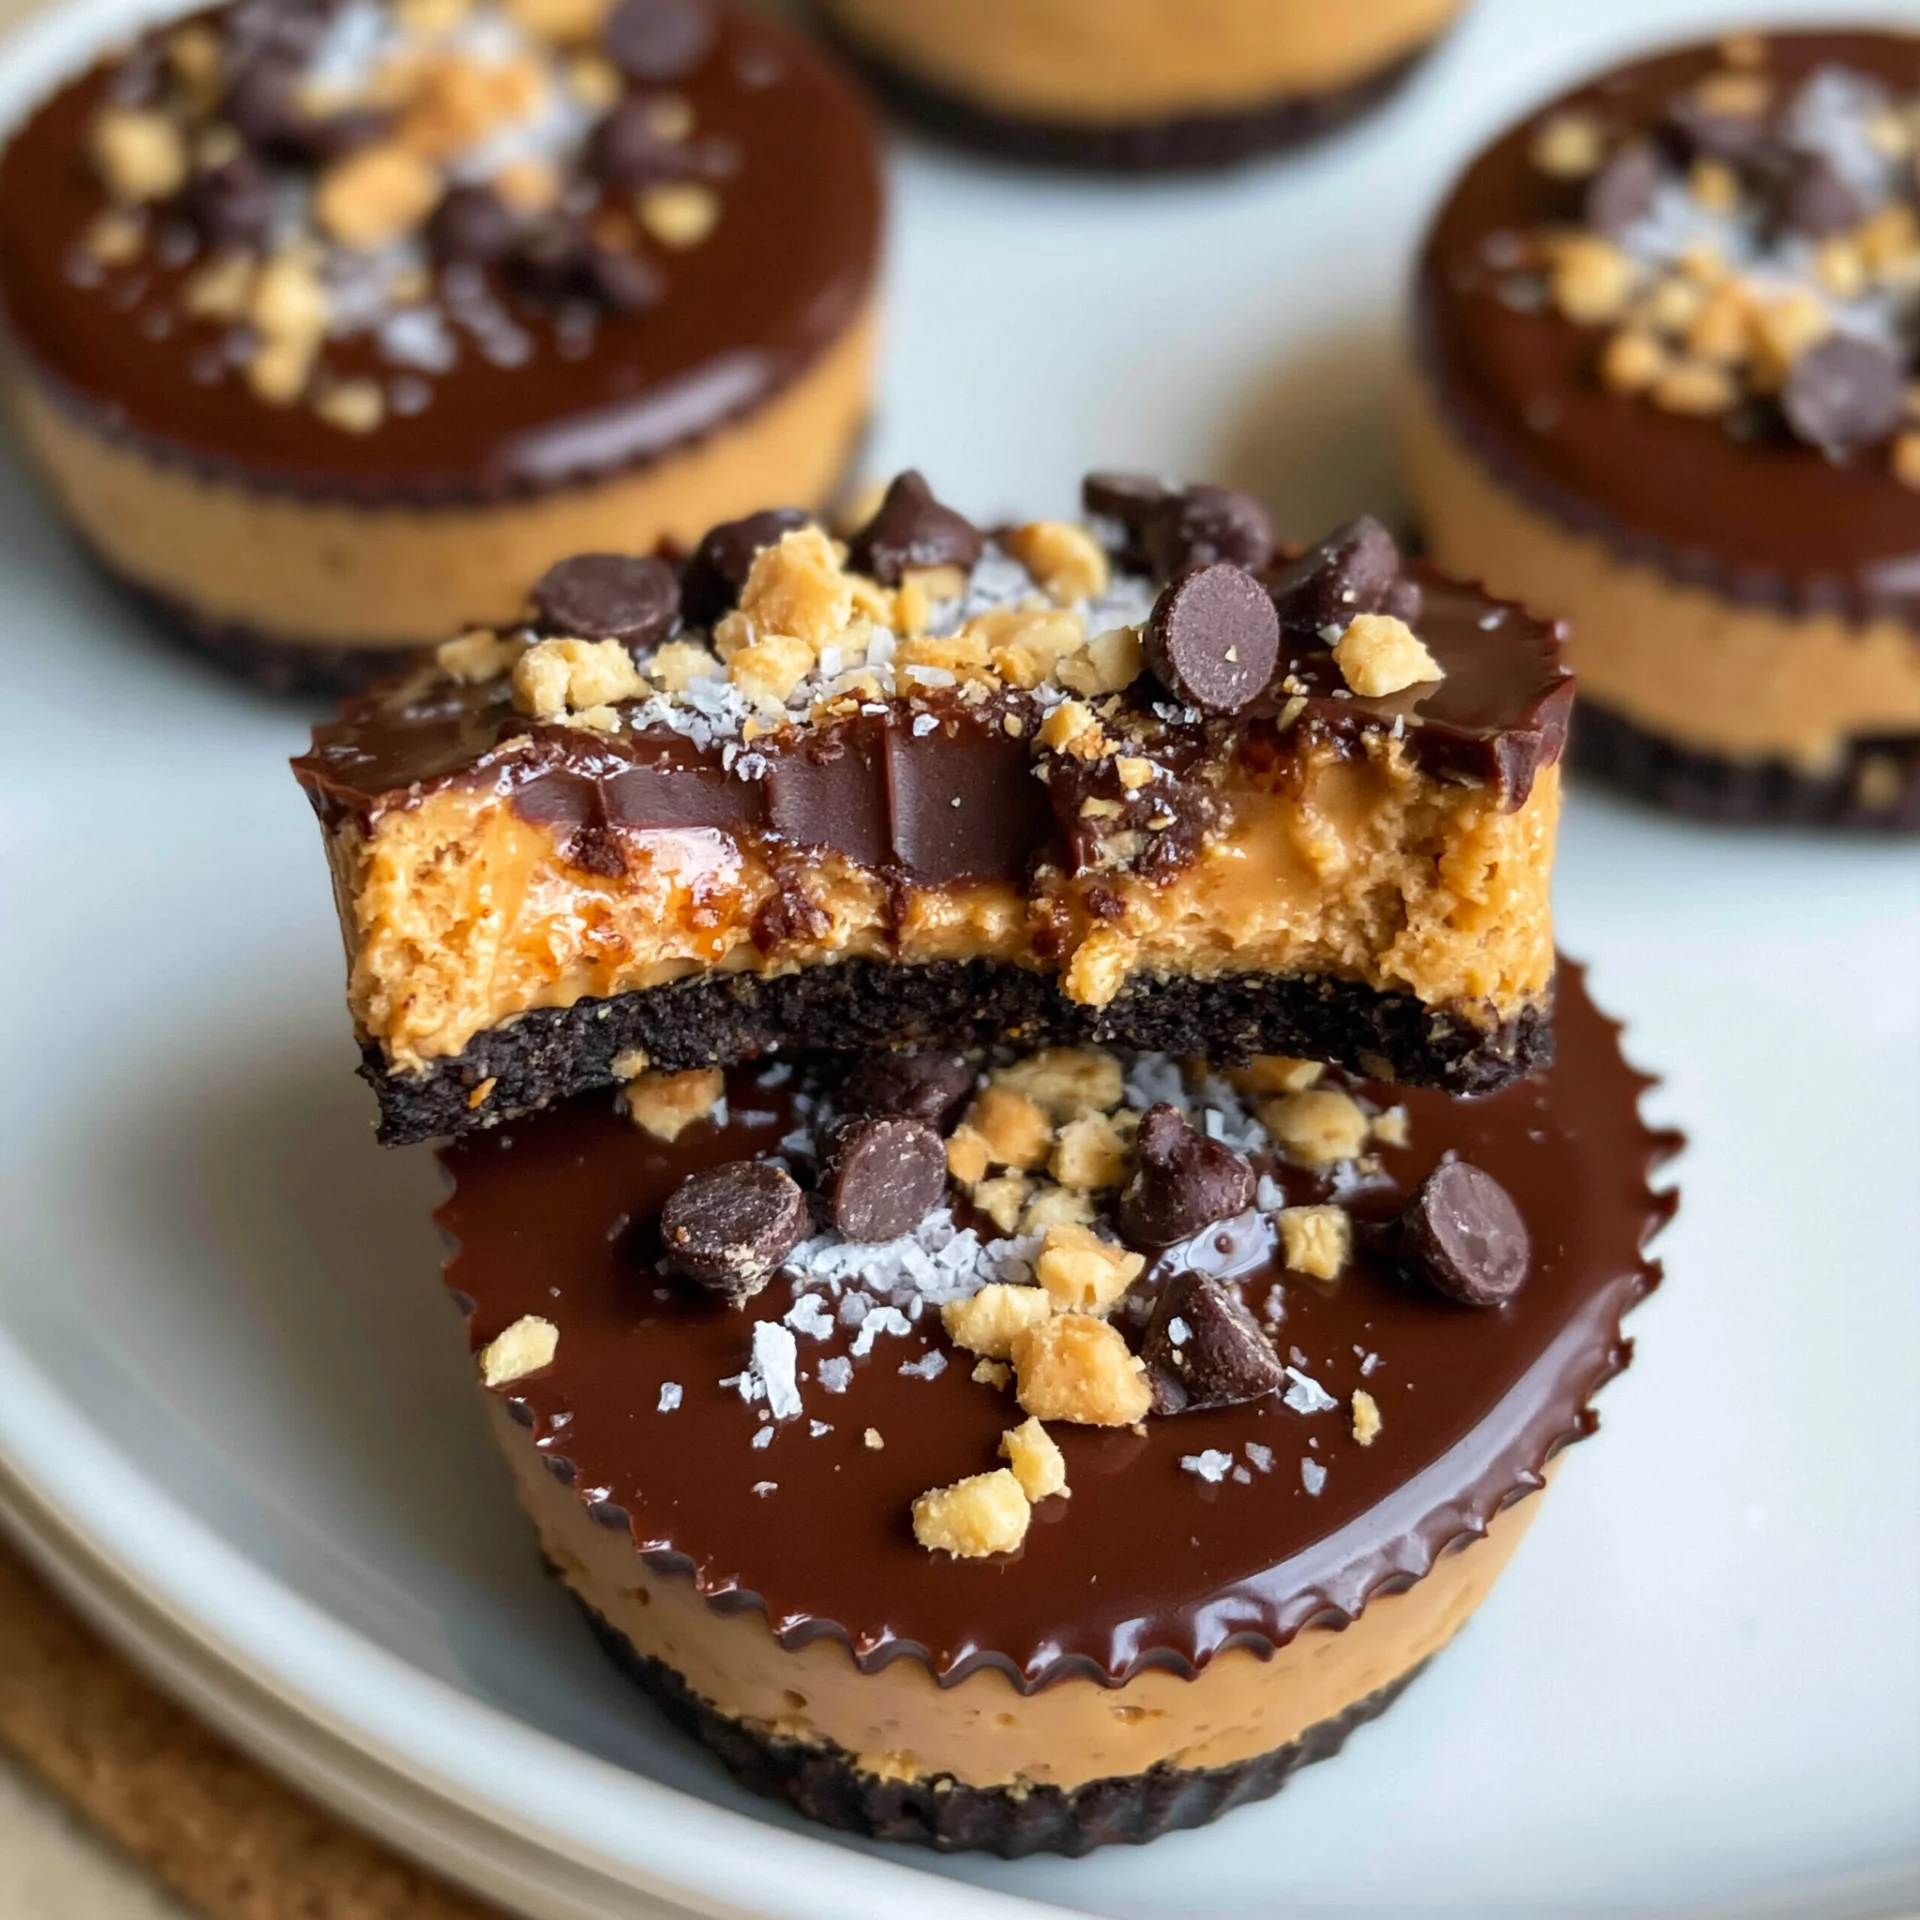
Don’t overfill the peanut butter layer or it will overflow when you add the top chocolate. Avoid melting chocolate at high temperatures, which causes it to seize and become unusable. Make sure each layer is properly chilled before adding the next, or the layers will blend together. Finally, don’t skip tapping the pan to remove air bubbles – this creates the smooth, professional appearance you want.
Storing Tips
Store in an airtight container in the refrigerator for up to one week or freeze for up to three months. For best texture, let them sit at room temperature for 5 minutes before serving if they’ve been chilled.
Conclusion
These homemade peanut butter cups prove that the most beloved treats are often the simplest ones. Share this recipe with friends and create sweet memories that will last long after the last bite.
FAQs
Can I use natural peanut butter?
Yes, but make sure it’s well-stirred and at room temperature. You might need an extra tablespoon of powdered sugar to achieve the right consistency.
What if my chocolate layer cracks?
This usually happens when the chocolate cools too quickly. Let it come to room temperature slightly before refrigerating next time.
How do I make these nut-free for school?
Substitute sunflower seed butter or soy butter for the peanut butter, following the same measurements and method.
Can I make mini versions?
Absolutely! Use a mini muffin tin and reduce all ingredient amounts by half. Chill time remains the same.
Why is my peanut butter filling too runny?
Add more powdered sugar, one tablespoon at a time, until it holds its shape when spooned.
Homemade Peanut Butter Cups
Ingredients
Method
- Line a standard 12-cup muffin tin with paper liners.
- Melt 1 cup of chocolate chips in 30-second intervals in the microwave, stirring between each interval until smooth and glossy.
- Spoon about 1 tablespoon of melted chocolate into each muffin liner, spreading it evenly across the bottom. Gently tap the pan on your counter to eliminate air bubbles. Place in the refrigerator for 15 minutes until the chocolate firms up but isn’t completely hard.
- While the chocolate chills, mix peanut butter, powdered sugar, melted coconut oil, and vanilla in a medium bowl until the mixture becomes smooth and pipeable.
- Remove the muffin tin from the refrigerator. Drop rounded teaspoons of peanut butter mixture onto each chocolate base, leaving a small border around the edges. Gently press down with the back of the spoon to create an even layer.
- Melt the remaining cup of chocolate chips using the same method as before. Spoon this melted chocolate over each peanut butter layer, making sure to cover completely and seal the edges.
- Refrigerate for at least 2 hours until completely firm. Remove from liners and serve.
Leave a Reply