
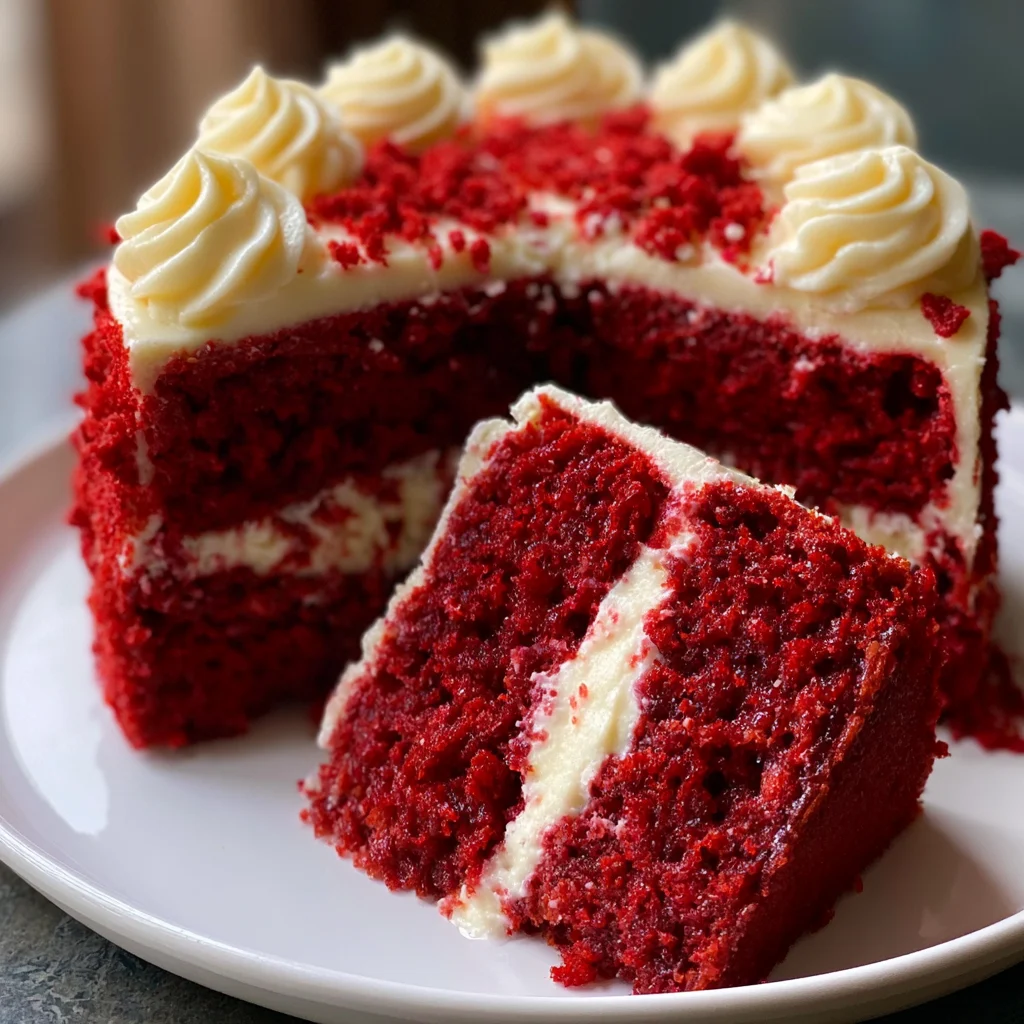
There’s something undeniably magical about a red velvet cake fresh from the oven — that deep crimson crumb, the subtle cocoa warmth, and the tangy cream cheese frosting that ties it all together. This is the kind of cake that shows up at birthdays, holidays, and Sunday dinners and somehow makes every occasion feel a little more special. Best of all, it’s genuinely easy to make at home.
Ingredients
- 2 ½ cups all-purpose flour
- 1 ½ cups granulated sugar
- 1 teaspoon baking soda
- 1 teaspoon fine salt
- 1 teaspoon cocoa powder
- 1 ½ cups neutral vegetable oil
- 1 cup buttermilk, room temperature
- 2 large eggs, room temperature
- 2 tablespoons red food coloring
- 1 teaspoon white distilled vinegar
- 1 teaspoon pure vanilla extract
For the Cream Cheese Frosting:
- 16 oz (2 blocks) full-fat cream cheese, softened
- ½ cup unsalted butter, softened
- 4 cups powdered sugar, sifted
- 1 teaspoon pure vanilla extract
- Pinch of salt
Substitution Tips:
- No buttermilk? Mix 1 cup whole milk with 1 tablespoon white vinegar and let it sit for 5 minutes. It works perfectly.
- Reduce red food coloring: Use beet powder for a natural alternative — start with 2 tablespoons and adjust to your preferred shade.
- Budget swap: Store-brand cream cheese works just as well as premium brands in this frosting.
Timing
- Prep Time: 25 minutes
- Cook Time: 30–35 minutes
- Total Time: About 1 hour (plus cooling time)
Busy family tip: Bake the cake layers the night before and wrap them tightly in plastic wrap. The next day, all you need to do is whip up the frosting and assemble — a total time-saver when life gets hectic.
How to Make Red Velvet Cake
1. Prepare Your Pans and Oven
Preheat your oven to 350°F (175°C). Grease two 9-inch round cake pans, then line the bottoms with parchment paper. This step matters more than it might seem — nothing is more heartbreaking than a beautiful cake layer stuck to the pan. A light dusting of flour over the greased pans adds extra insurance.
2. Whisk the Dry Ingredients
In a large bowl, sift together the flour, sugar, baking soda, salt, and cocoa powder. Sifting prevents clumps and ensures the cocoa powder distributes evenly — which gives you that signature tender, fine crumb that makes red velvet cake so distinctive.
3. Combine the Wet Ingredients
In a separate large bowl or the bowl of a stand mixer, whisk together the oil, buttermilk, eggs, red food coloring, vinegar, and vanilla extract. The mixture will turn a vivid, glossy red — that’s exactly what you’re looking for. The vinegar reacts with the buttermilk and baking soda to help lift the cake and deepen the color naturally.
4. Mix the Batter
Gradually add the dry ingredients into the wet ingredients in two or three additions, mixing on low speed just until everything comes together. Stop as soon as you no longer see streaks of flour. Overmixing develops gluten and leads to a dense, tough cake — so resist the urge to keep going.
5. Bake Until Just Set
Divide the batter evenly between your prepared pans and slide them into the center rack of the oven. Bake for 30–35 minutes. You’ll know they’re done when the tops spring back lightly when touched and a toothpick inserted in the center comes out clean. Your kitchen will smell like warm vanilla and a hint of chocolate — pure comfort.
6. Cool Completely Before Frosting
Let the layers cool in the pans for 10 minutes, then turn them out onto a wire rack. This is non-negotiable — frosting a warm cake causes the cream cheese frosting to slide right off. Give the layers a full hour to cool, or speed things up by placing them in the refrigerator for 30 minutes.
7. Make the Cream Cheese Frosting and Assemble
Beat the softened cream cheese and butter together on medium-high speed until completely smooth and fluffy, about 3 minutes. Add the sifted powdered sugar one cup at a time, mixing on low, then increase the speed and beat until light. Add vanilla and a pinch of salt. Place the first layer on your serving plate, spread a generous layer of frosting, top with the second layer, then frost the top and sides. Crumble any cake scraps over the top for a classic finishing touch.
Nutritional Information
Per serving (based on 12 slices): approximately 580 calories, 32g fat, 70g carbohydrates, 5g protein, and 52g sugar. These values are estimates and will vary based on exact ingredients and portion sizes used.
Serving Suggestions
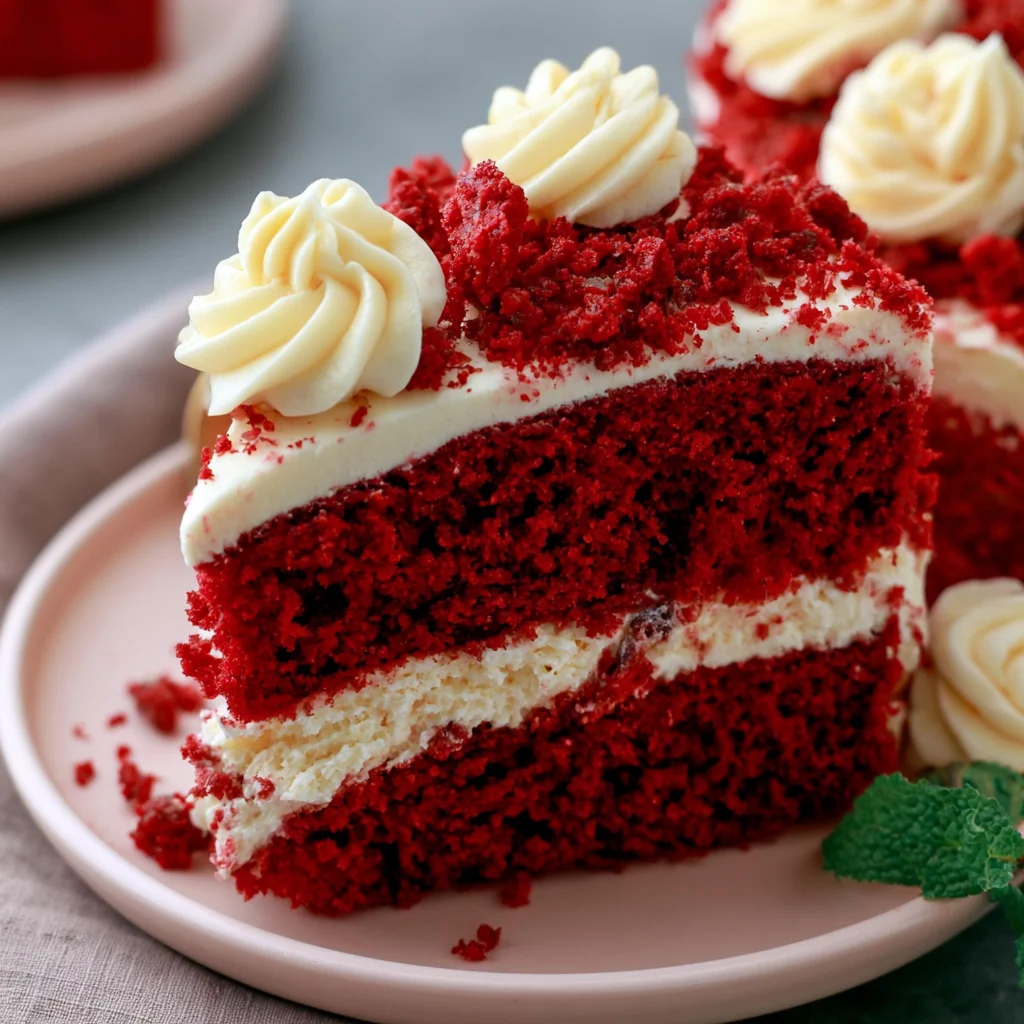
This homemade red velvet cake is stunning on its own, but a few thoughtful pairings make it even better. Serve thin slices alongside a scoop of vanilla bean ice cream for a crowd-pleasing dessert plate. A warm mug of coffee or a glass of cold milk balances the sweetness perfectly. For celebrations, fresh berries on the side add a bright, pretty touch.
Common Mistakes to Avoid
- Using cold ingredients: Cold eggs or buttermilk cause the batter to curdle. Always bring them to room temperature first.
- Opening the oven too early: Resist peeking before the 25-minute mark — a sudden temperature drop can cause the center to sink.
- Overmixing the batter: Mix only until just combined. Overworking the flour creates a dense, rubbery texture instead of a soft crumb.
- Frosting a warm cake: Patience is essential here. A warm cake will melt even a stiff frosting, leaving you with a sliding, messy mess instead of clean, beautiful layers.
Storing Tips
Store frosted red velvet cake covered in the refrigerator for up to 5 days. For longer storage, freeze unfrosted cake layers wrapped tightly in plastic wrap and foil for up to 3 months. To enjoy a refrigerated slice at its best, let it sit at room temperature for 20–30 minutes before eating — the texture softens beautifully.
Conclusion
This classic red velvet cake delivers everything a family dessert should — stunning looks, a soft crumb, and a frosting that people ask about every single time. Try this recipe and make it your own. Leave a comment below and tell us how it turned out!
FAQs
Can I make red velvet cake without food coloring?
Yes. Use 2–3 tablespoons of beet powder for a natural red hue. The color will be slightly more muted but still beautiful, and it won’t affect the flavor.
Why does my red velvet cake taste like plain vanilla?
The cocoa flavor in red velvet is intentionally subtle. If you want a richer chocolate presence, increase the cocoa powder to 2 tablespoons without changing anything else.
Can I make this as cupcakes instead?
Absolutely. Fill lined cupcake tins two-thirds full and bake at 350°F for 18–22 minutes. This recipe makes approximately 24 cupcakes — perfect for school events or parties.
My frosting is too runny. How do I fix it?
Refrigerate the frosting for 20–30 minutes to firm it up, then re-whip briefly. Make sure your cream cheese and butter were not overly soft when you started.
Can picky eaters enjoy this cake?
Most kids love it — the flavor is mild, sweet, and not overwhelmingly chocolatey. If your child is sensitive to the color, simply skip the food coloring. The taste stays exactly the same. Save this recipe on Pinterest so you can find it again easily!
Red Velvet Cake
Ingredients
Method
- Preheat your oven to 350°F (175°C). Grease two 9-inch round cake pans, then line the bottoms with parchment paper. Lightly dust the greased pans with flour for extra insurance against sticking.
- In a large bowl, sift together the flour, sugar, baking soda, salt, and cocoa powder. Sifting prevents clumps and ensures the cocoa powder distributes evenly for a tender, fine crumb.
- In a separate large bowl or the bowl of a stand mixer, whisk together the oil, buttermilk, eggs, red food coloring, vinegar, and vanilla extract until the mixture turns a vivid, glossy red.
- Gradually add the dry ingredients into the wet ingredients in two or three additions, mixing on low speed just until everything comes together. Stop as soon as you no longer see streaks of flour. Do not overmix.
- Divide the batter evenly between your prepared pans and place them on the center rack of the oven. Bake for 30–35 minutes, until the tops spring back lightly when touched and a toothpick inserted in the center comes out clean.
- Let the layers cool in the pans for 10 minutes, then turn them out onto a wire rack. Allow the layers to cool fully for at least 1 hour, or place them in the refrigerator for 30 minutes to speed up the process. Do not frost warm cake.
- Beat the softened cream cheese and butter together on medium-high speed until completely smooth and fluffy, about 3 minutes.
- Add the sifted powdered sugar one cup at a time, mixing on low, then increase speed and beat until light. Add vanilla and a pinch of salt.
- Place the first cake layer on your serving plate and spread a generous layer of frosting over it. Top with the second layer, then frost the top and sides of the cake. Crumble any cake scraps over the top for a classic finishing touch.
Leave a Reply